I keep waiting to post when the house is done and I can have a before and after, but the renovation continues.
Shane is working hard to balance writing and photographing recipes for his blog, and upcoming cookbook (yay!) AND doing most of the remaining labor on the house. And I am saying yes to just about every bit of work that comes along to keep this train moving!
One of the areas waiting to be finished is the half bath that we turned into a full bathroom. When we moved in, we saw potential in this little space, but had no idea what it could become.
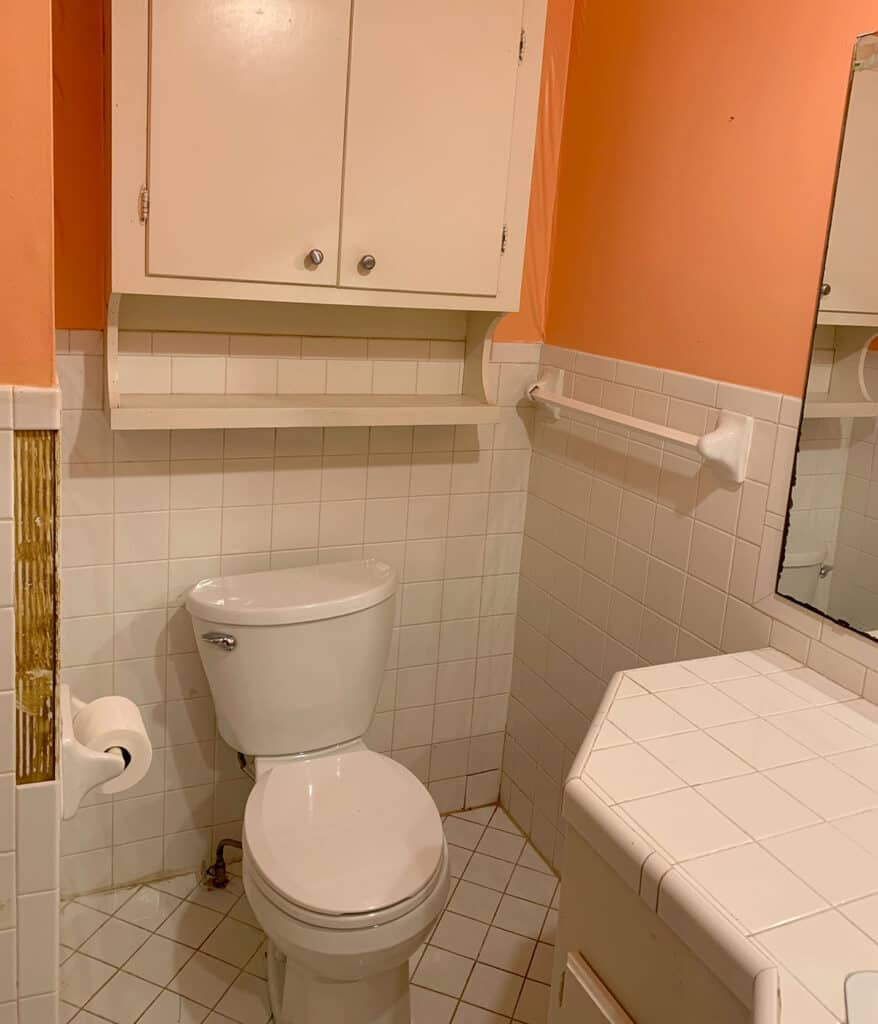
Disappointment set in during those early weeks after moving in and we came to realize how grave the house’s structure was. (I have a few tips to avoid some of the mistakes we made here.) This toilet was about to fall through the floor!
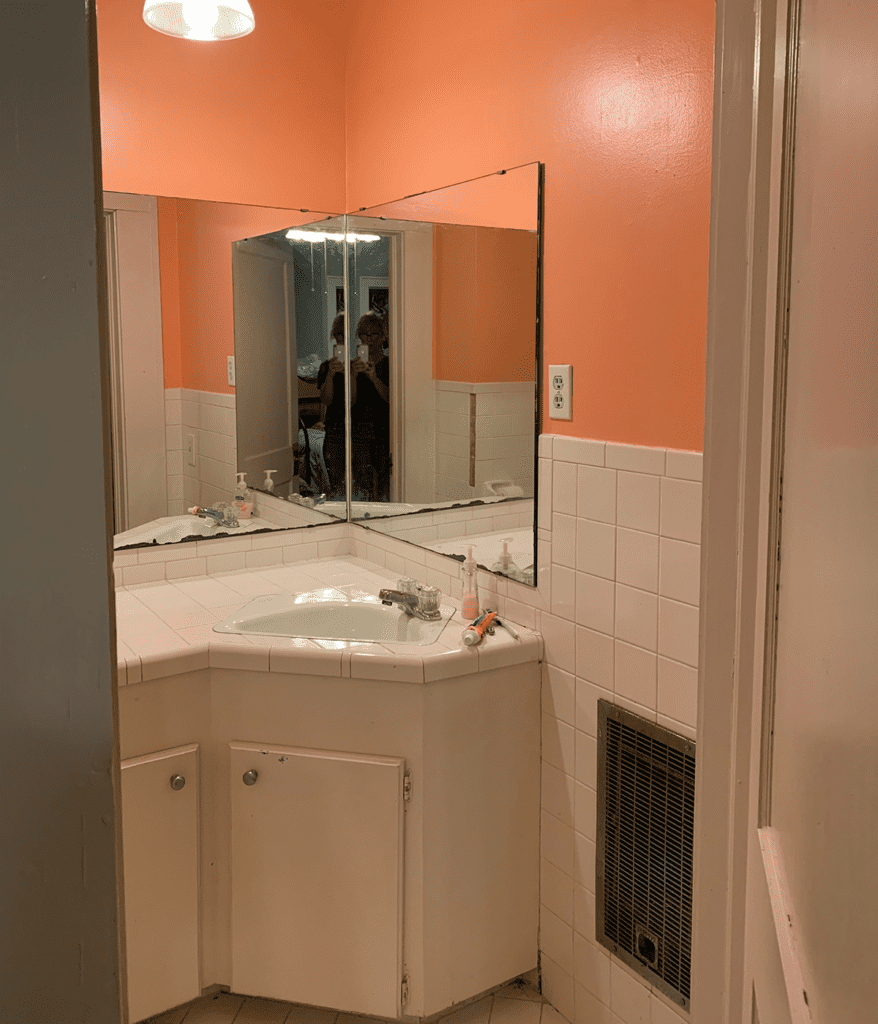
We knew there was something behind the wall to the left (behind the wall with the toilet paper holder in the top picture), but weren’t sure what we would find. And we surely didn’t expect to find a huge floor to ceiling cavity behind a little space heater!
A chimney from what was left of an original fireplace was behind the left wall. Beams were resting on the base of the fireplace and it was all sinking so we had the chimney demo’d (extra expense to remove all the bricks) and new beams were installed.
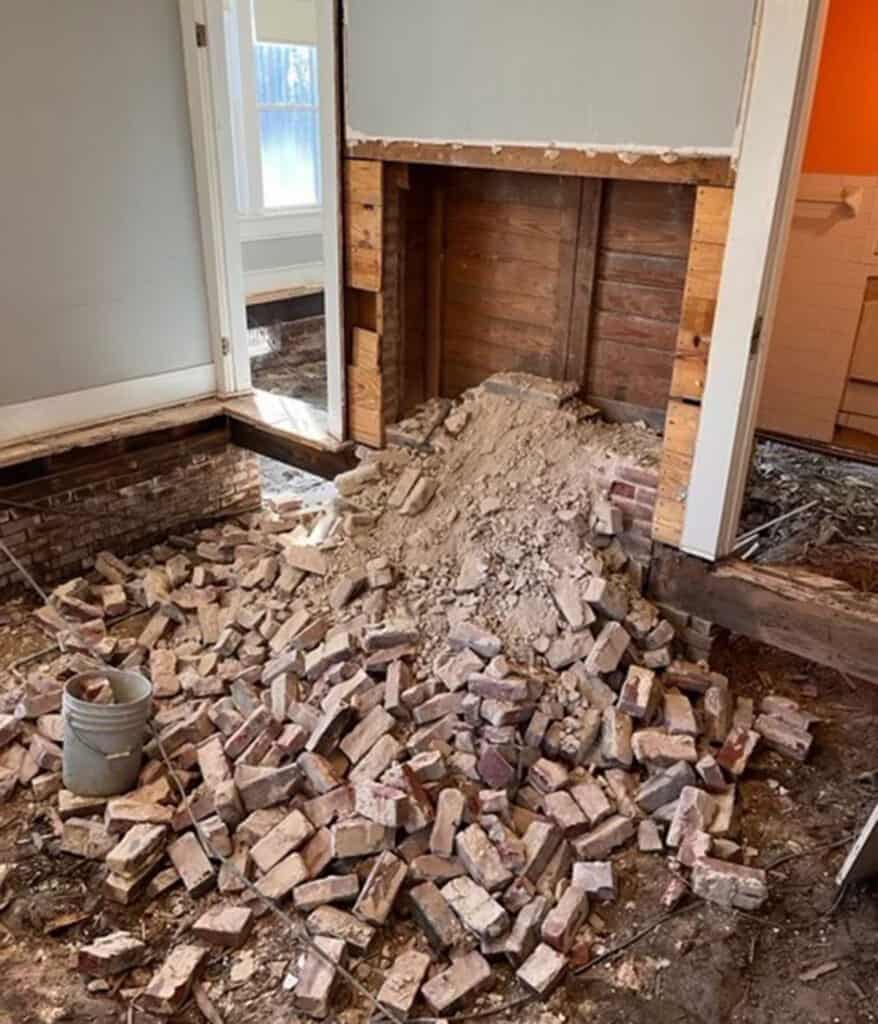
You can see one of the ways we used the beautiful salvaged brick here.
The floor to ceiling cavity housing the little space heater can be seen on the left side of the picture below. (And check out the layers of painted wallpaper!)
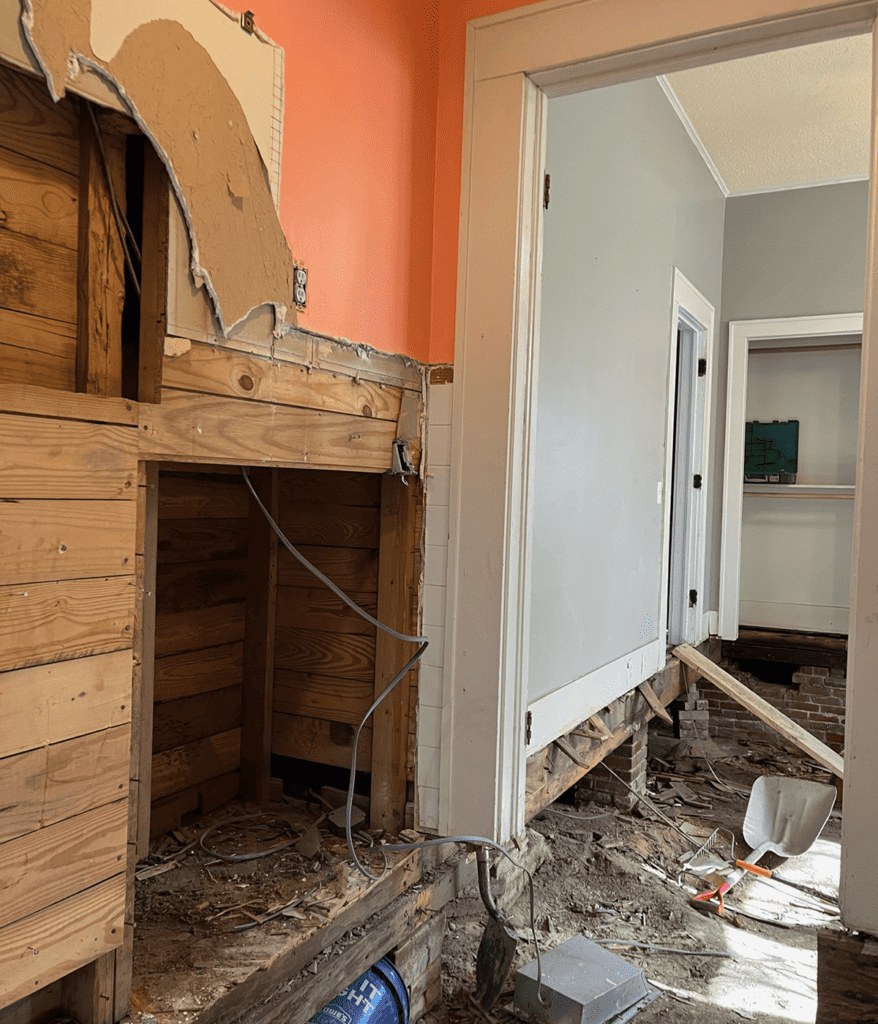
We ended up having the cavity completely opened up all the way to the ceiling. We considered putting the sink there, but ultimately decided that was where the toilet would go.
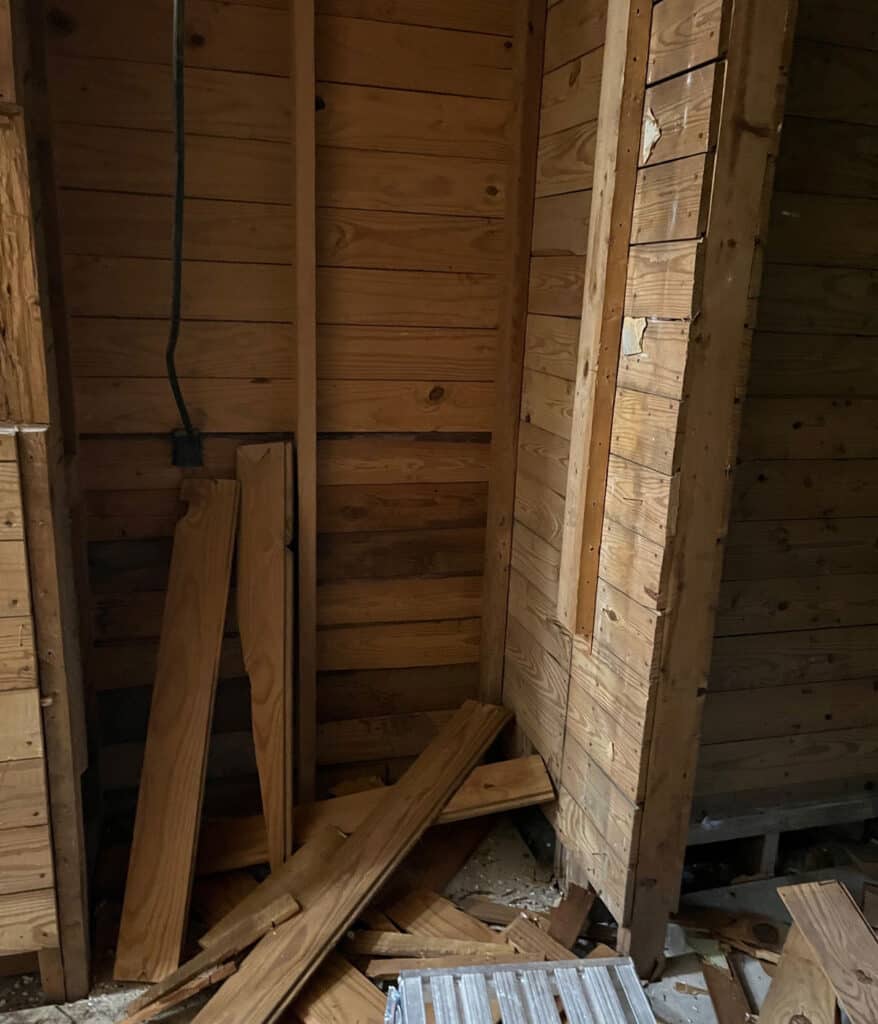
Here’s the inside of the bathroom, and the backside of where the chimney once stood. Shiplap everywhere!
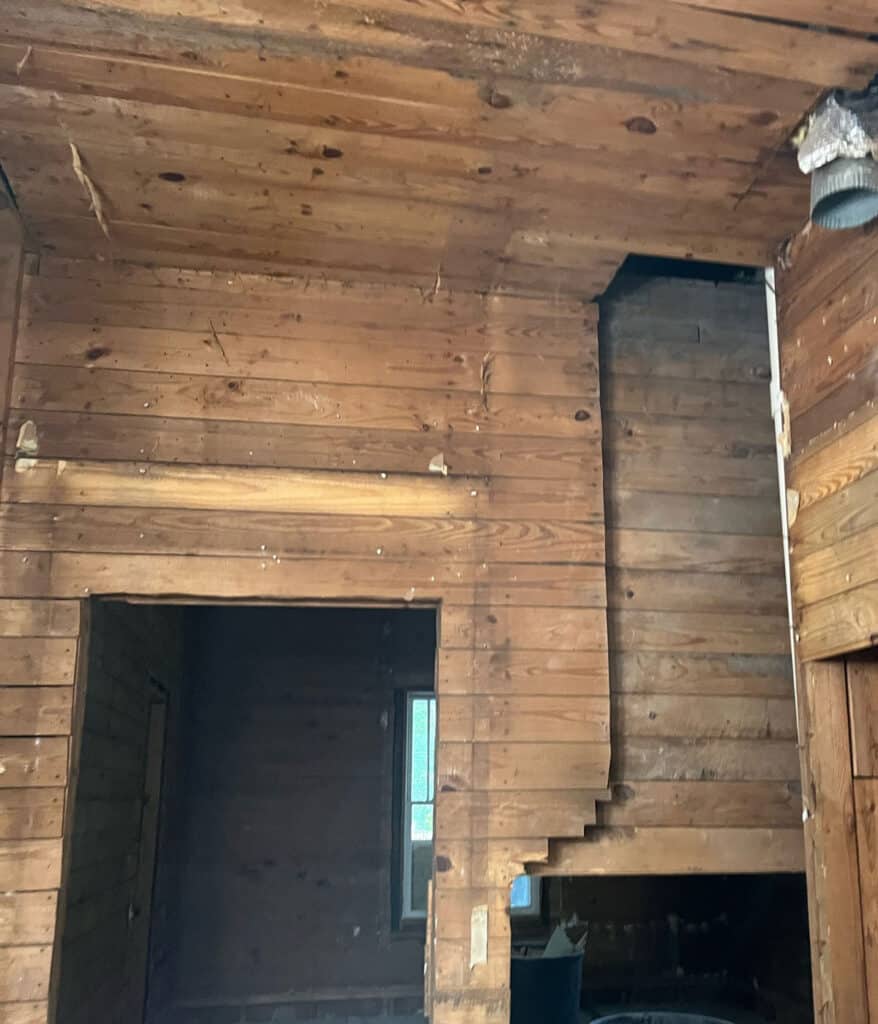
When the foundation guys ripped out the floors, they ripped out a couple of walls too-and we were excited to begin to reimagine the space. They demo’d the wall separating this half bath and a full bathroom, and they pulled down the ceiling that had been lowered for reasons we may never know.
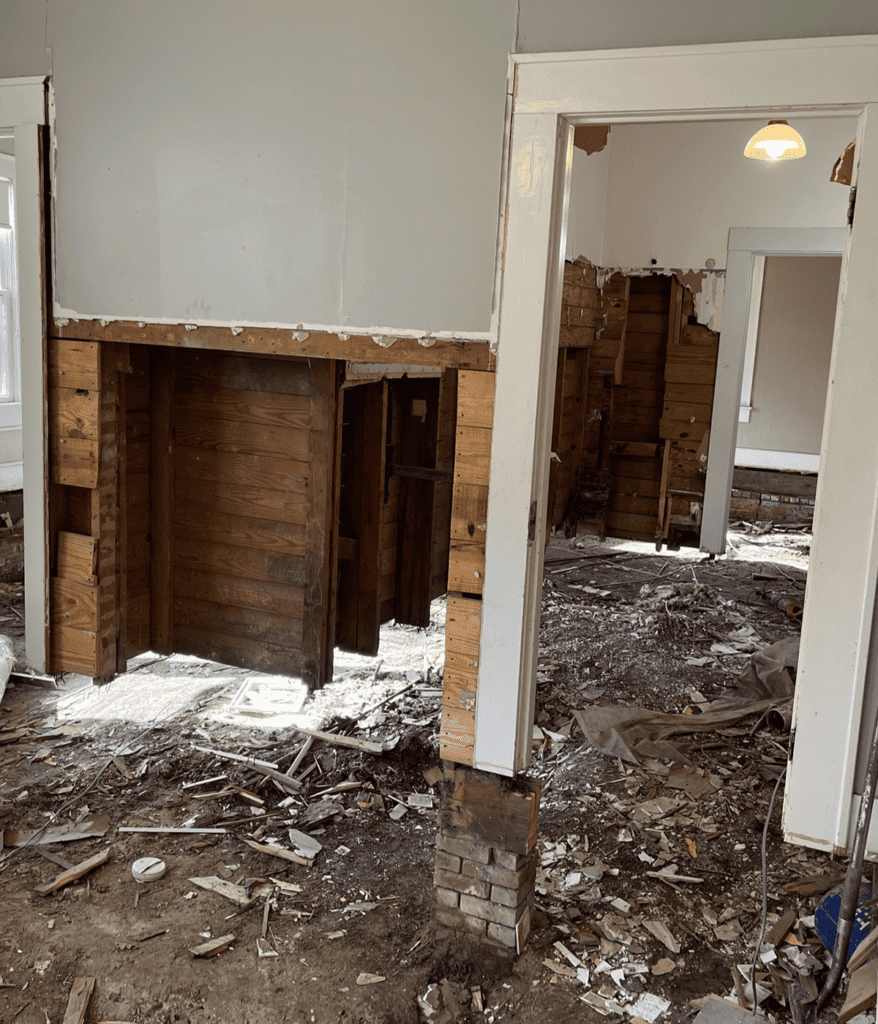
Footers were poured to ensure strong-hopefully never sinking- floors again!
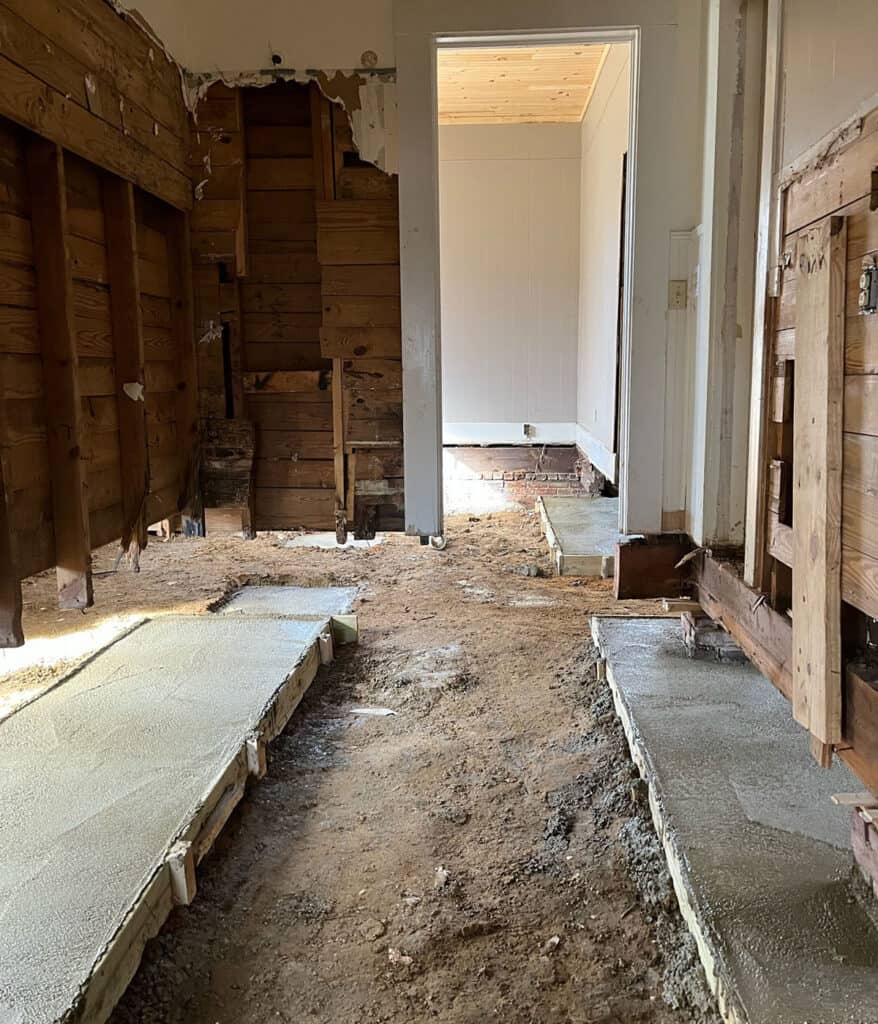
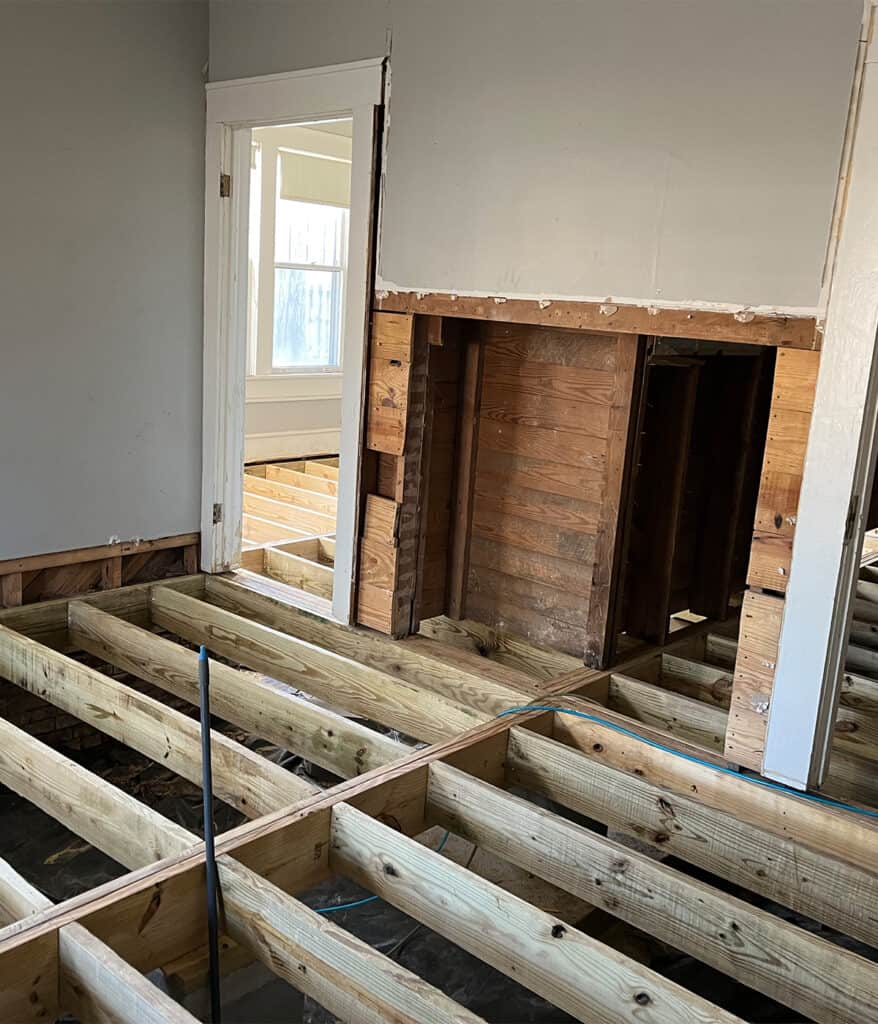
Once the foundation was fixed and subfloor installed, more demo ensued and then, it was time to figure out the layout of the bathroom. We realized there was enough space for a walk in shower!
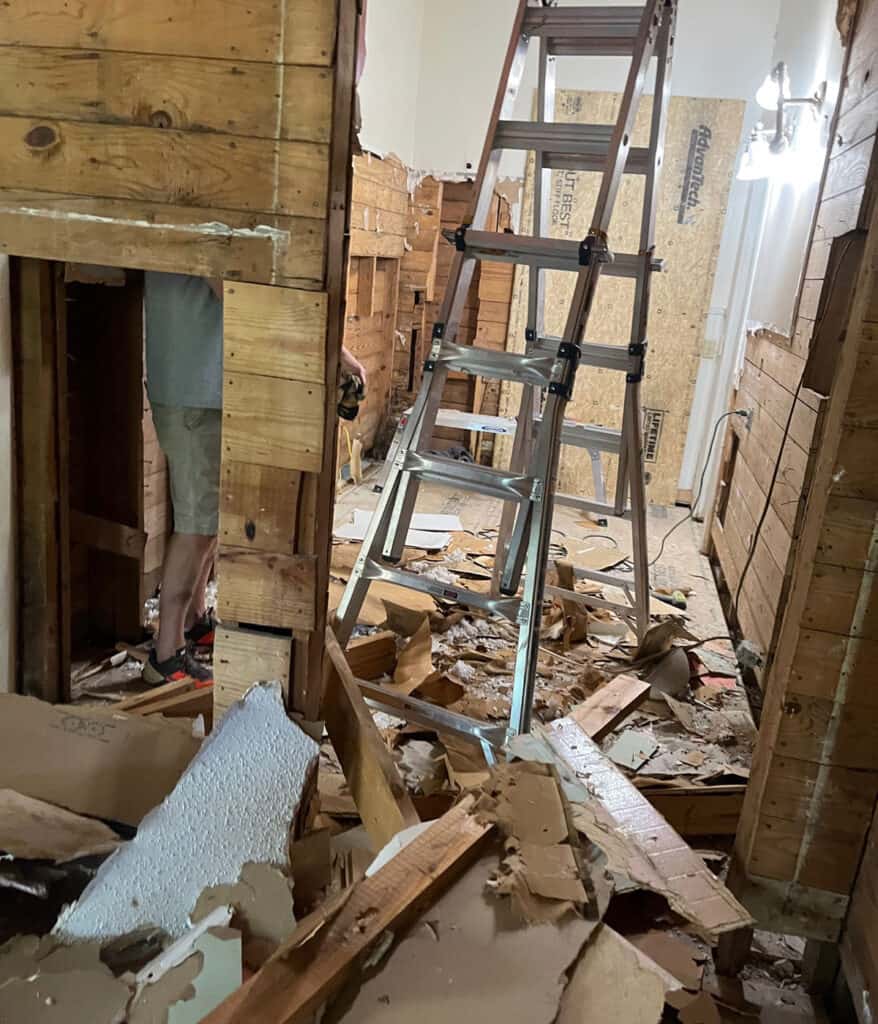
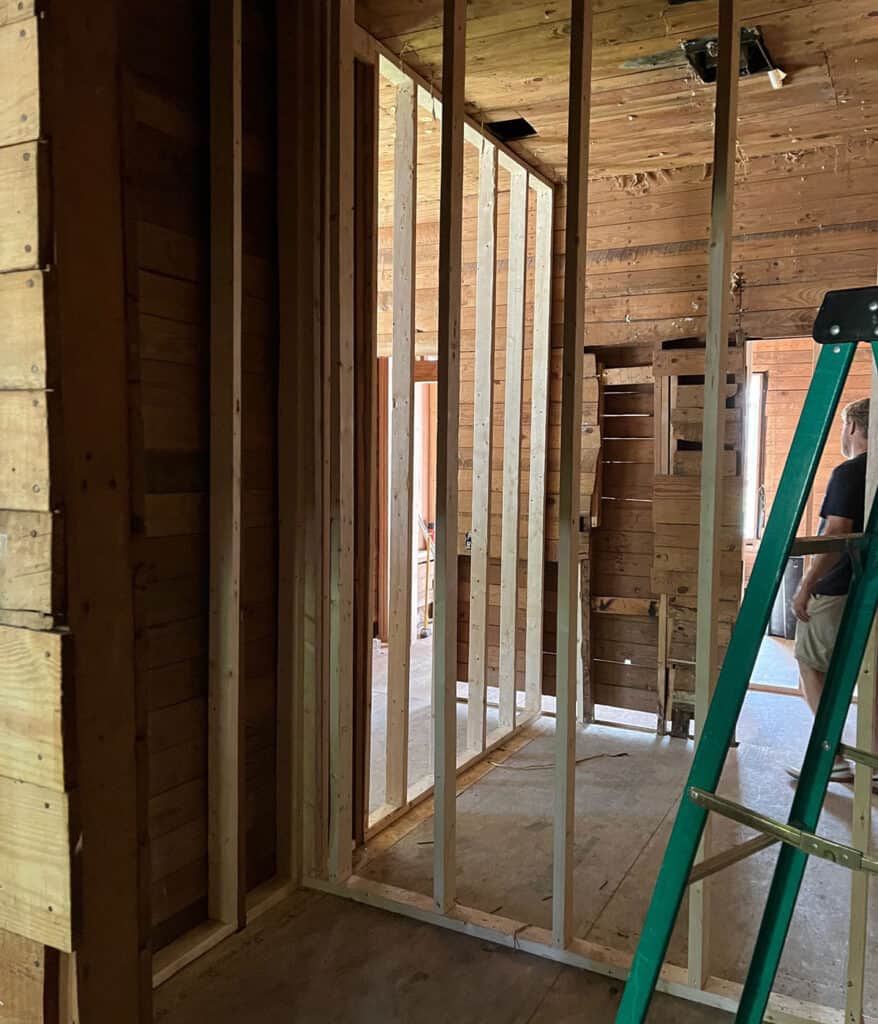
We moved the wall adjoining the two bathrooms by just three inches to give us a slightly wider shower and to keep the vanity from jutting out past the wall beside it.
Somewhere along the way I found an app that would let me design the floorpan of a room using standard fixture sizes, like toilets and doors. Between the app and my pencil and graph paper, I figured out the layout, then used Photoshop to create this sheet with the design details to get us and the workers going with the same vision. This may have been one of my favorite things–designing, of course!
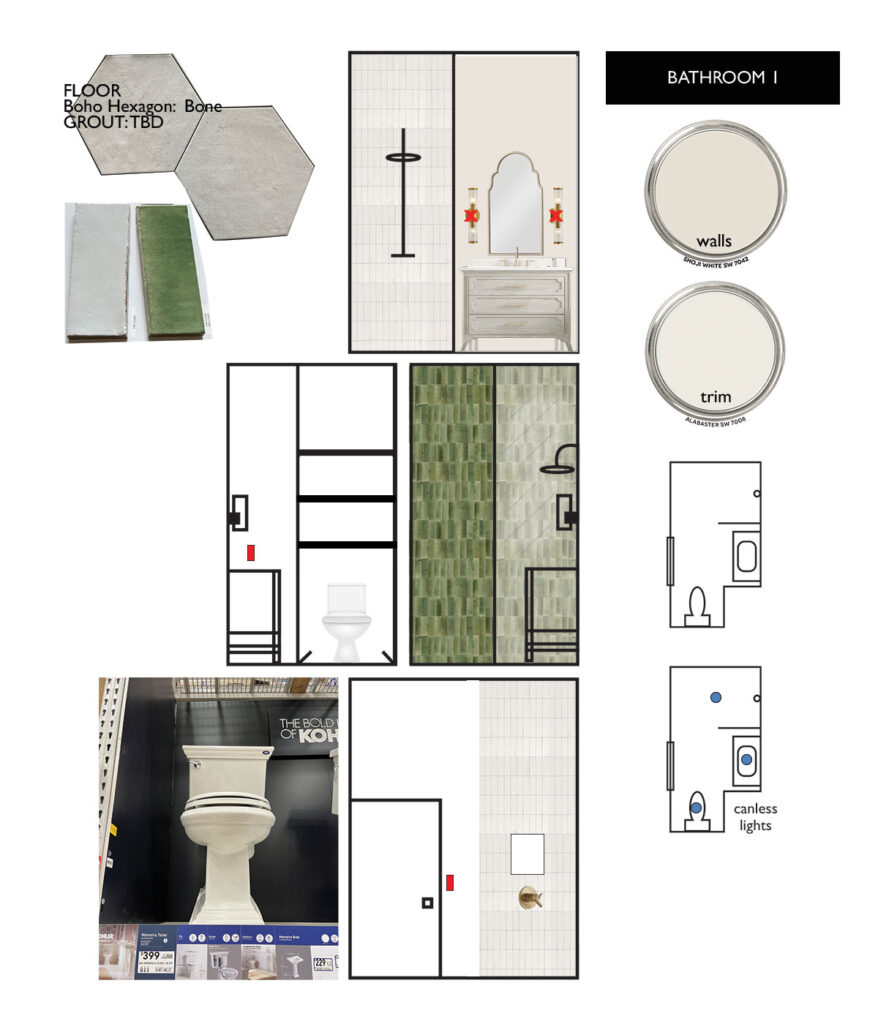
Not everything came out as planned, but we are loving how it’s turned out! Here’s Part 2 at Plant Life Today.
Thank you for reading,
-Andrea
