None of this renovation has gone as expected, but we have been really pleased with how this half bath turned full bathroom transformation has gone! If you missed the first part you can read about how we got started in my Part 1 post here.
I really think I could stay in a tile store picking out combinations all day long. I feel so energized putting design elements together and wish I had more opportunities to do interior design work!
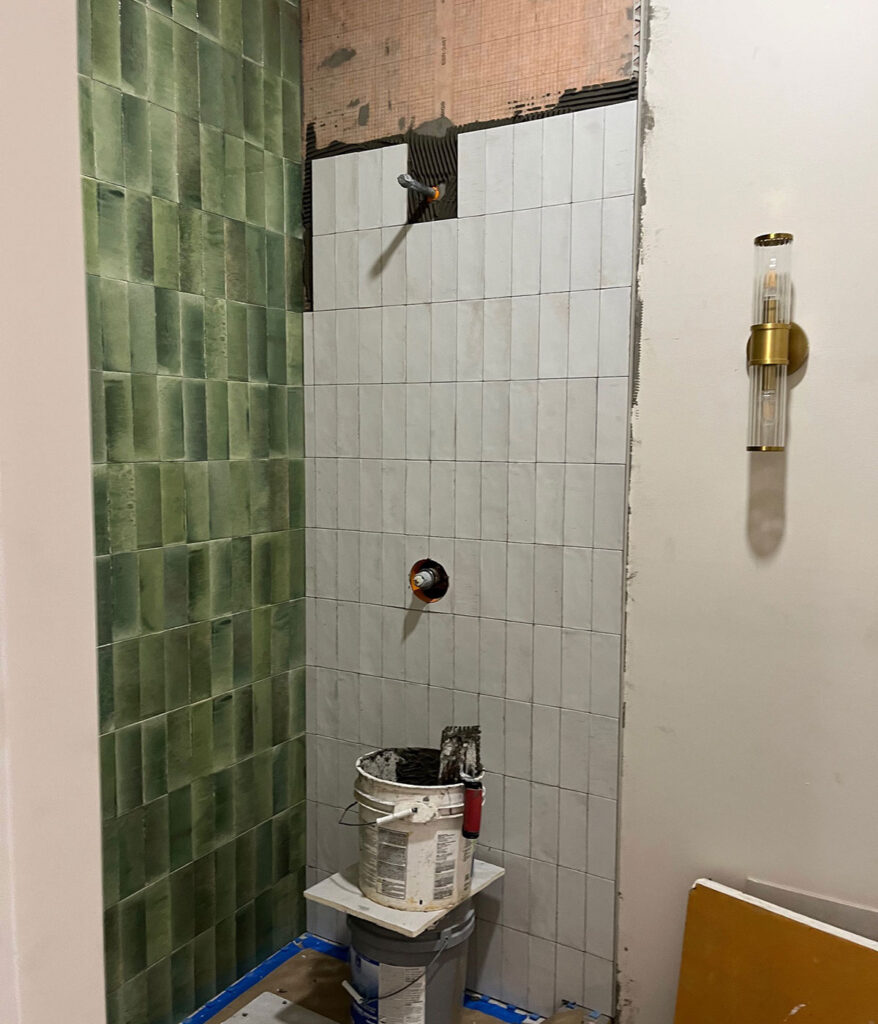
We considered doing black and white penny tile, or going back to something like the original white squares, but I wanted the home to feel calm, and natural. I chose a natural looking white subway for the sides of the shower, green with lots of variation for the back, and a natural (no slip) hexagon for the floors.
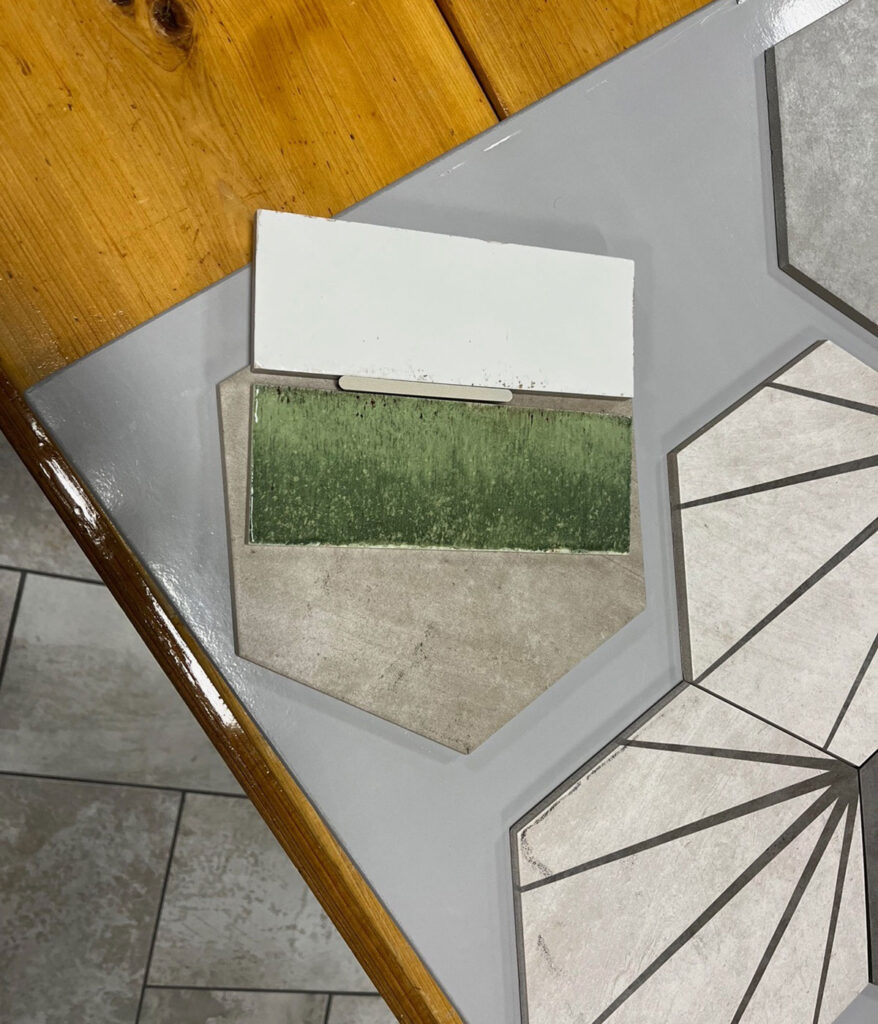
My husband wasn’t really feeling the green, but knows how much I love it and let me roll with these choices. (Now he says he loves what I did and I’m so grateful he trusted me.)
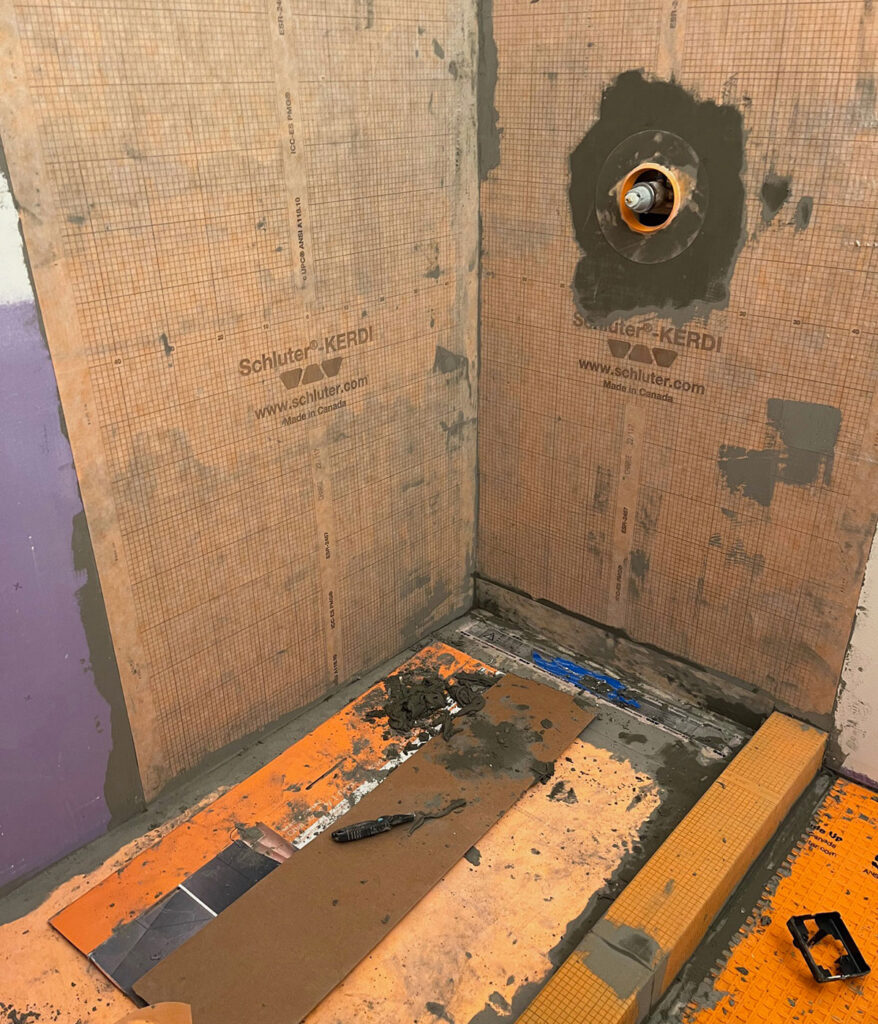
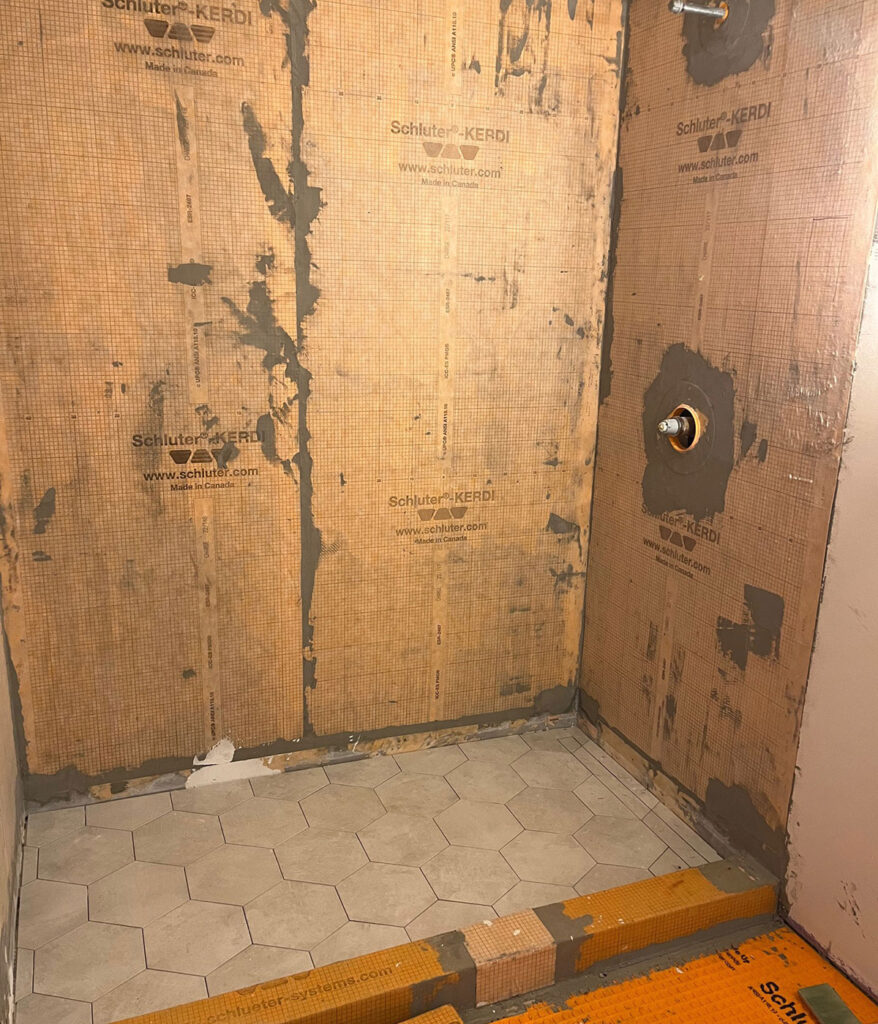
First up, moisture resistant drywall was hung, then the waterproofing began. We used the Schluter system of waterproofing. They certify installers and guarantee the waterproofing.
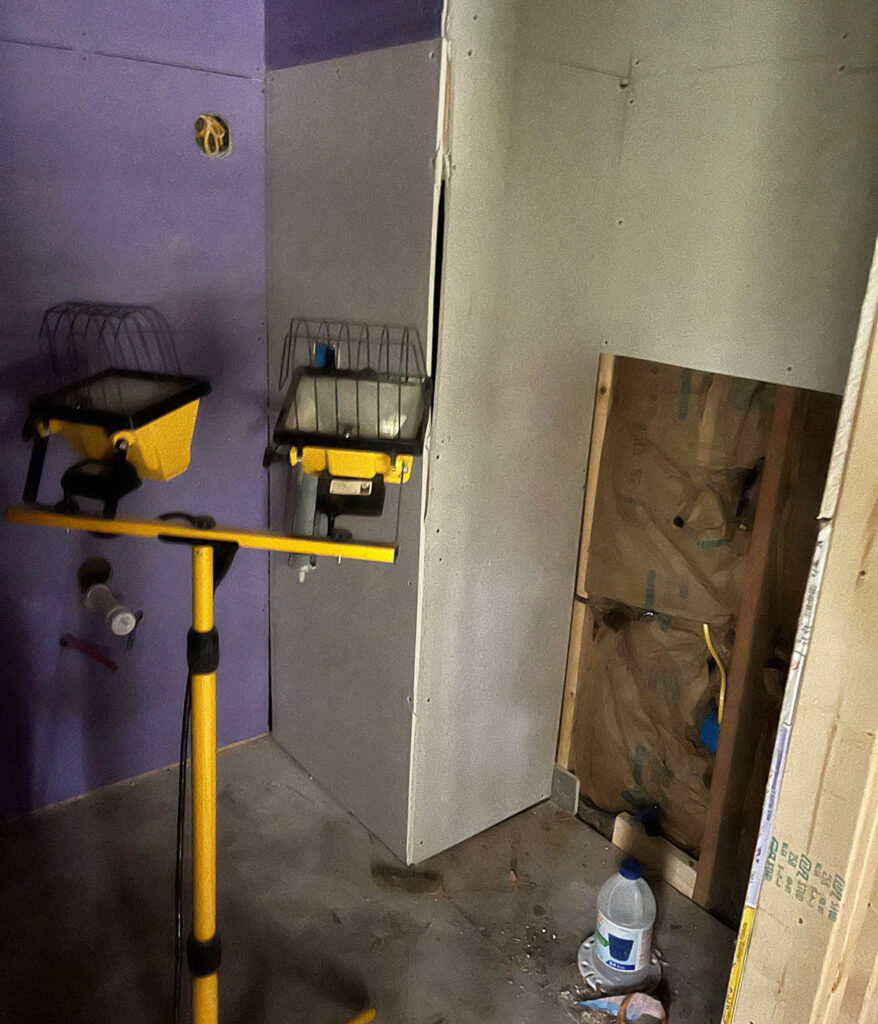
The waffle-like Kerdi floor membrane allows the tile to adjust with the home, hopefully preventing cracking and settling.
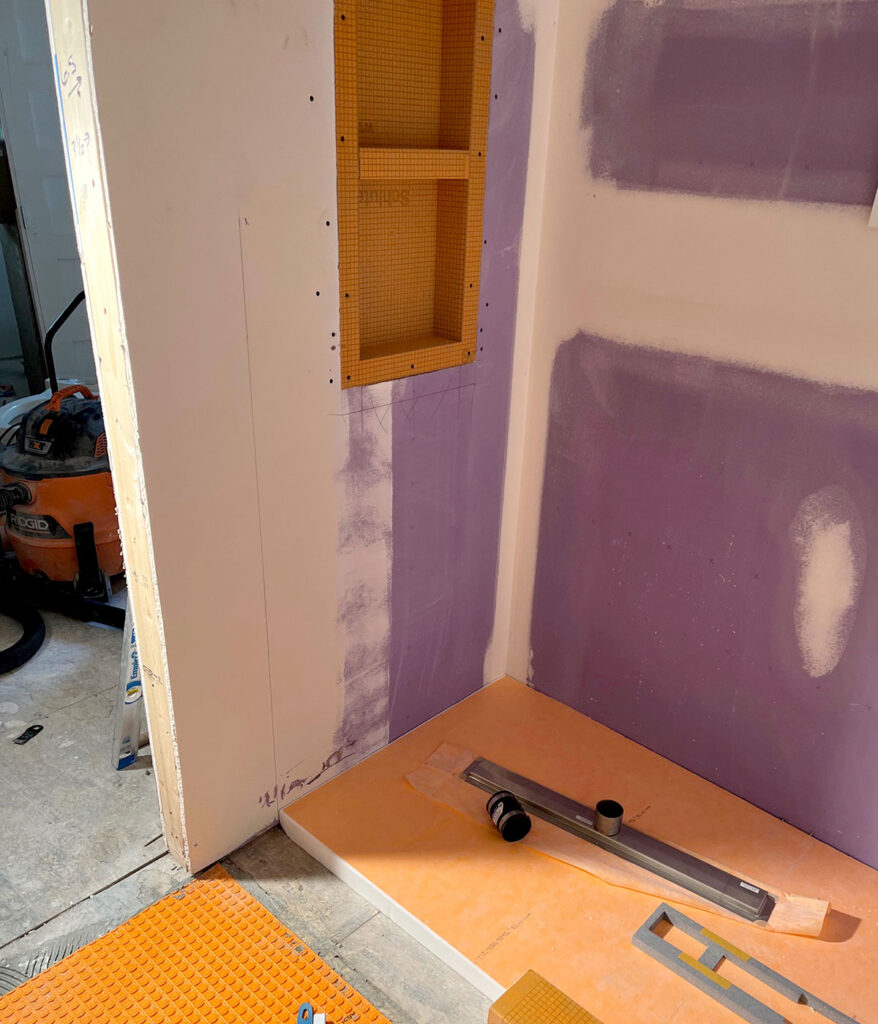
Originally we wanted a no transition walk in shower, but that is labor intensive, would’ve required altering some of our newly installed subfloor, and been much more expensive. We purchased a Schluter shower pan kit to get the grading/slope for the water to move to the drain.
Once the waterproofing was done. It was time to tile!
We had so, so many delays getting the bathroom tiled, one of which was when we opened the floor tile that had been under our carport for a couple months waiting to be used, we discovered this tile:
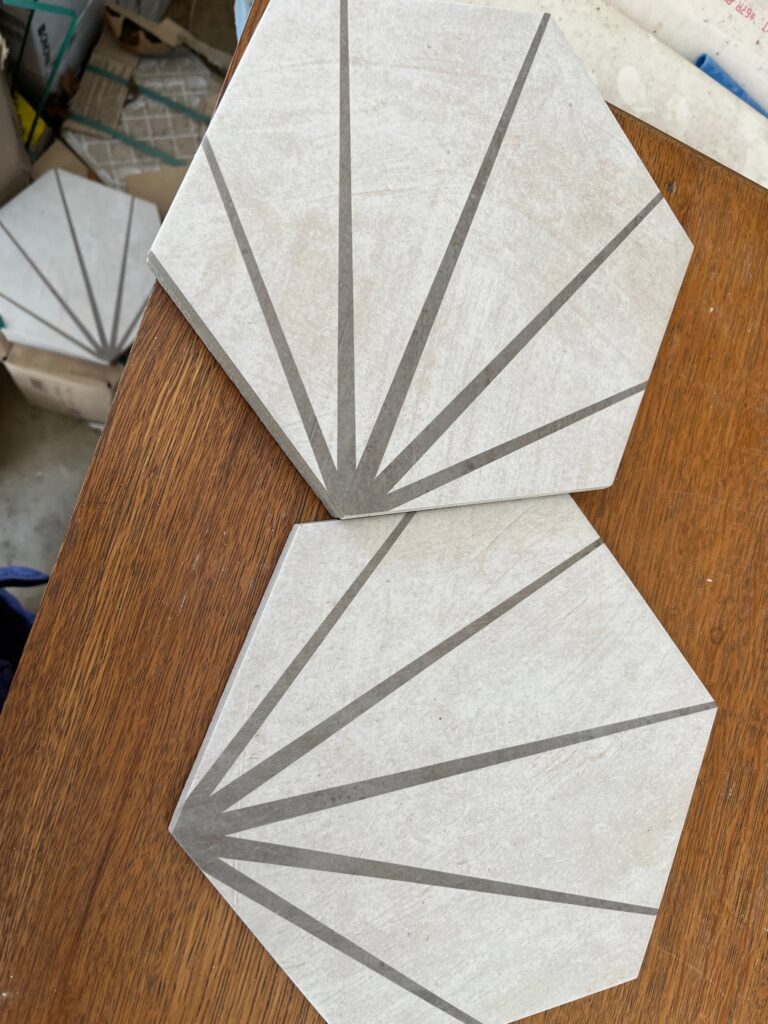
It’s absolutely gorgeous, but not the look we were going for. We considered trying to make it work, but the pattern was going to be a bear. We called our tile store and they graciously replaced the tile with something slightly different than our original choice because it was out of stock.
The new tile was delivered and we waited and waited. One tile guy had a lengthy family health crisis out of state and since he was already trying to squeeze us in, we lined up some other guys, but they were about 7 weeks out, if I remember correctly.
They were absolutely worth the wait! We could not be happier with how the tile turned out. Their expertise was invaluable.
One thing we love is the linear drain! In the Schluter system we purchased, it actually gets tiled.
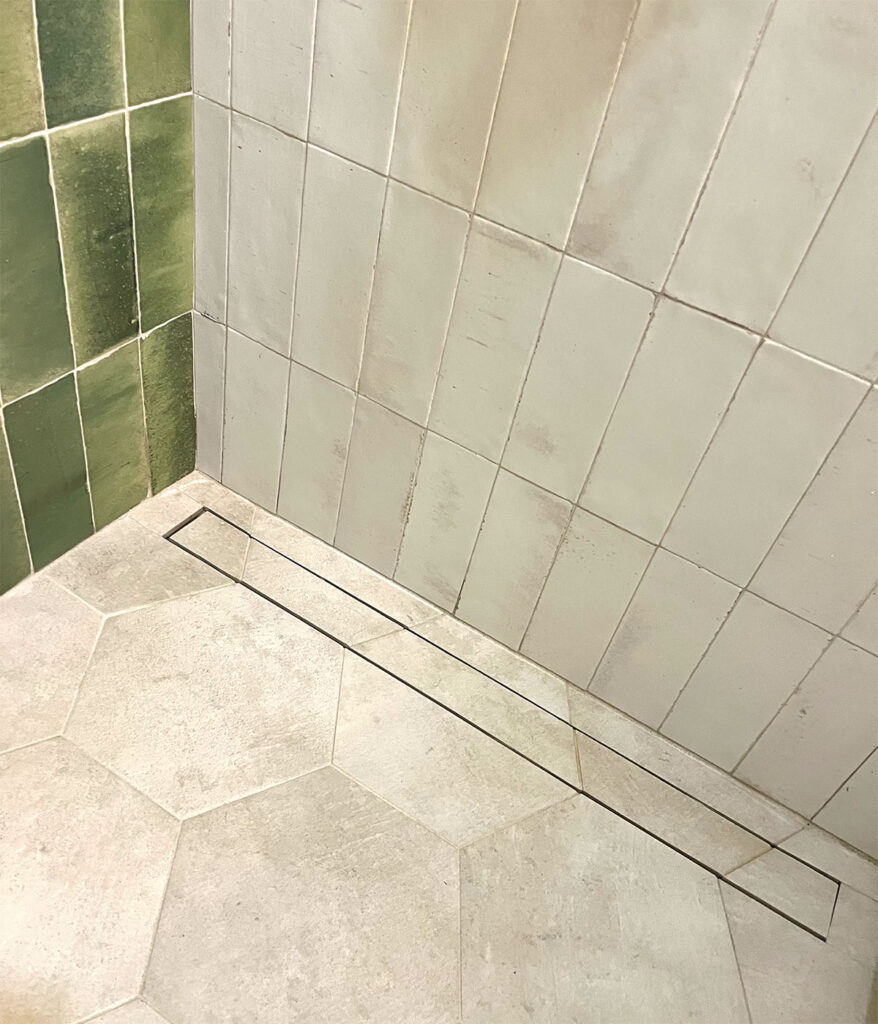
It has a stainless steel drain with a hair catcher underneath the tile, and comes with a “key” that you use to pry up the panel to clean the drain.
One more little hiccup was with what tile to use for the curb. The hexagon didn’t lend itself well to the curb and we had large rectangle pieces of leftover tile in practically the same color from our other bathroom. The sad news was that we didn’t have enough of the leftover to do the curb. And, of course, it was out of stock everywhere. We headed out to Lowe’s in the hopes their website was wrong, but it wasn’t. We stumbled across another tile that worked great for the curb and allowed the guys to get the width they needed for strength in the sides and shelves of the niche.
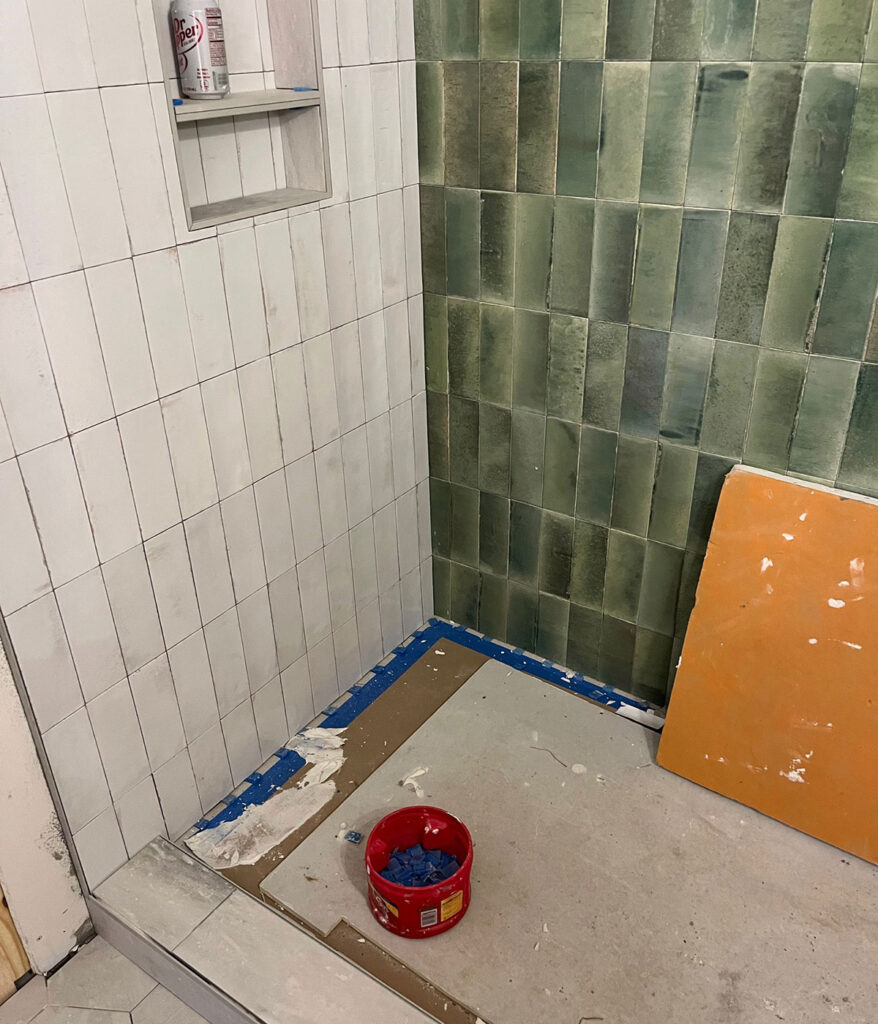
We loved how it turned out!
One thing we didn’t consider before talking to tilers, was what to do for the finished edges. Our tilers turned us on to Schluter trim at our initial meeting. (This post isn’t sponsored by Schluter, but we’re big fans! Schluter-we have one more bathroom to makeover…just sayin’!)
Schluter trim is a great, modern substitute for bullnose tile edging, or pencil tile that is traditionally used for giving tile edges a finished look.
Below, you can see the trim and how our tile guy butted two pieces of trim together to create the shelves rather than using the 2 inch waterproofed foam shelf that came in the Schluter niche kit.
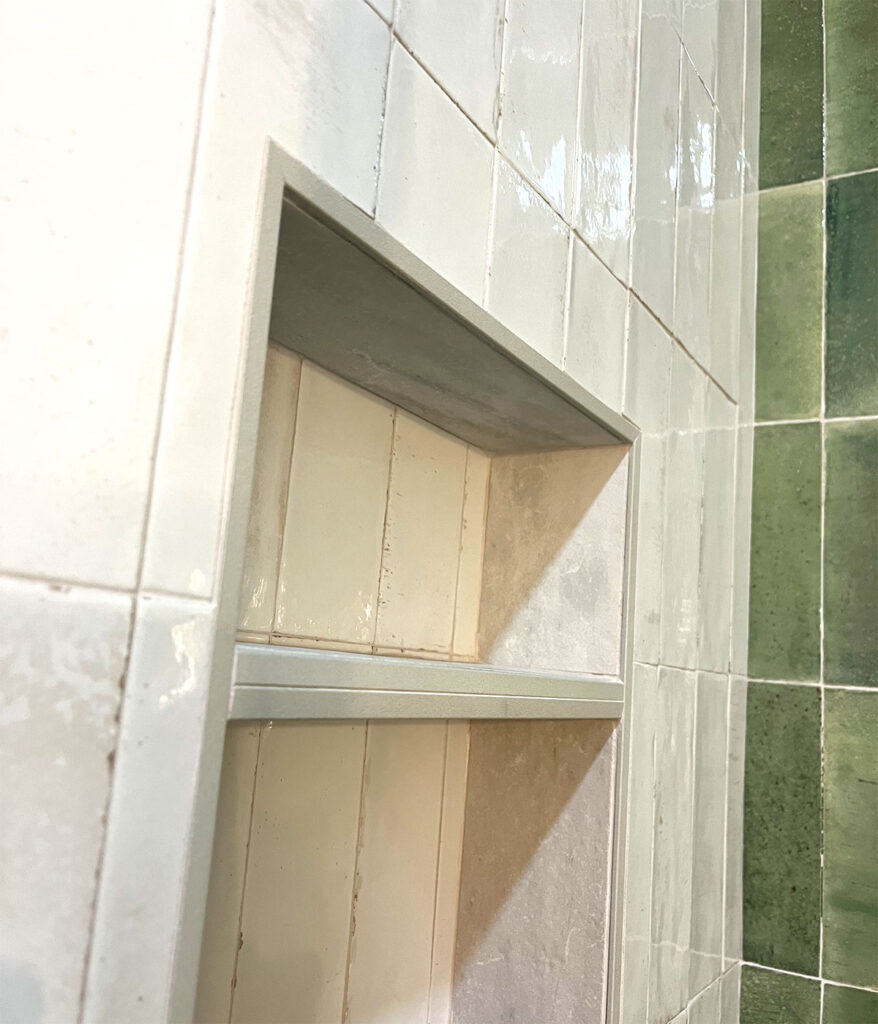
(Side note: I learned that if you use a natural stone like marble, you can see the veining in the cut edge, but with manmade tile, you see the ceramic or porcelain material exposed under the finished glaze.) You can see the edges of our shower trimmed out below. (We had 2 different crews do waterproofing and tile. The waterproofing was a little messy, so we have some finishing work to do to smooth and paint the walls.)
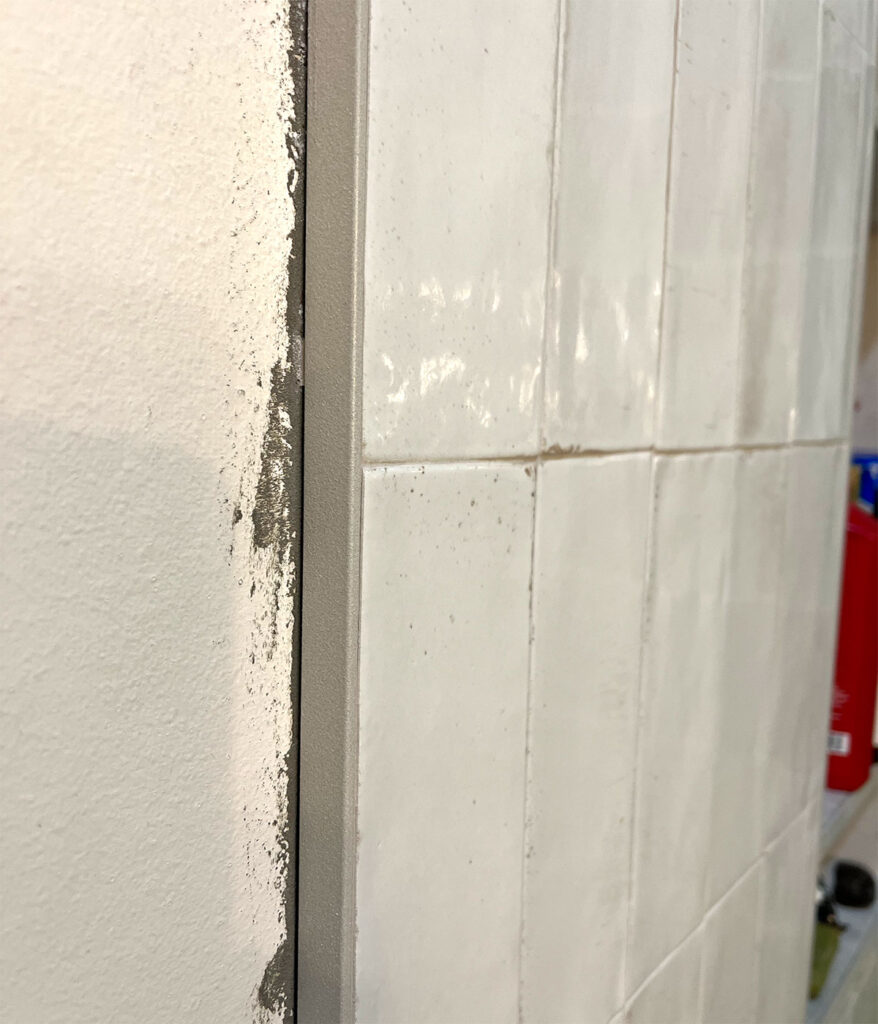
The wall tile progressed.
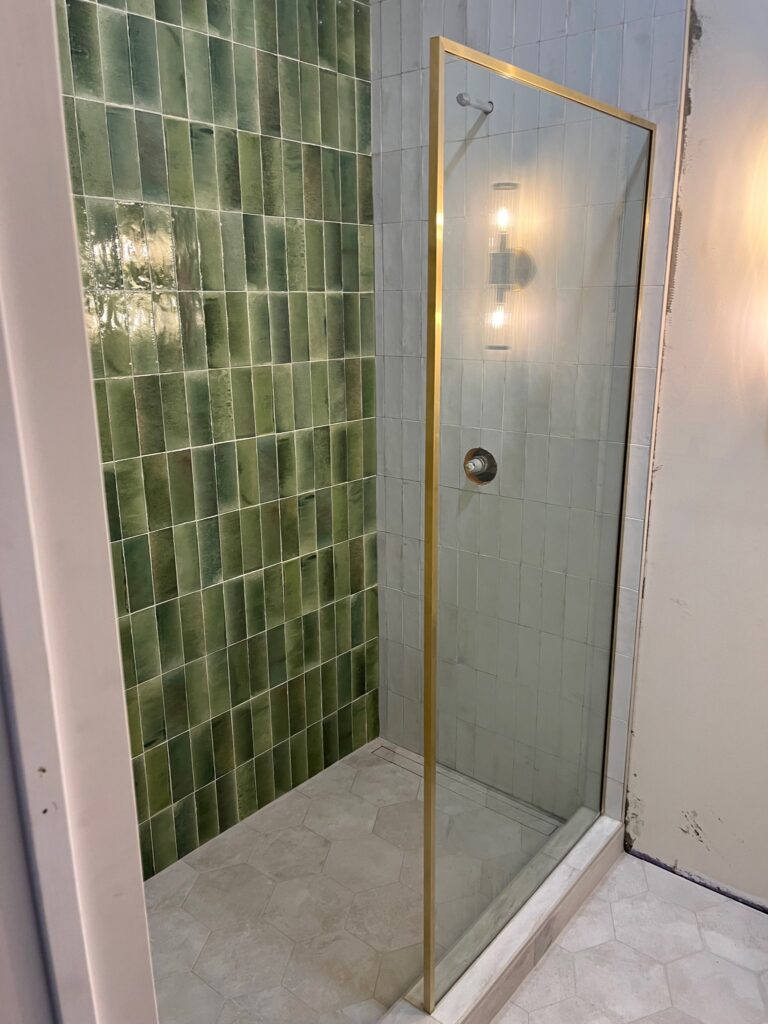
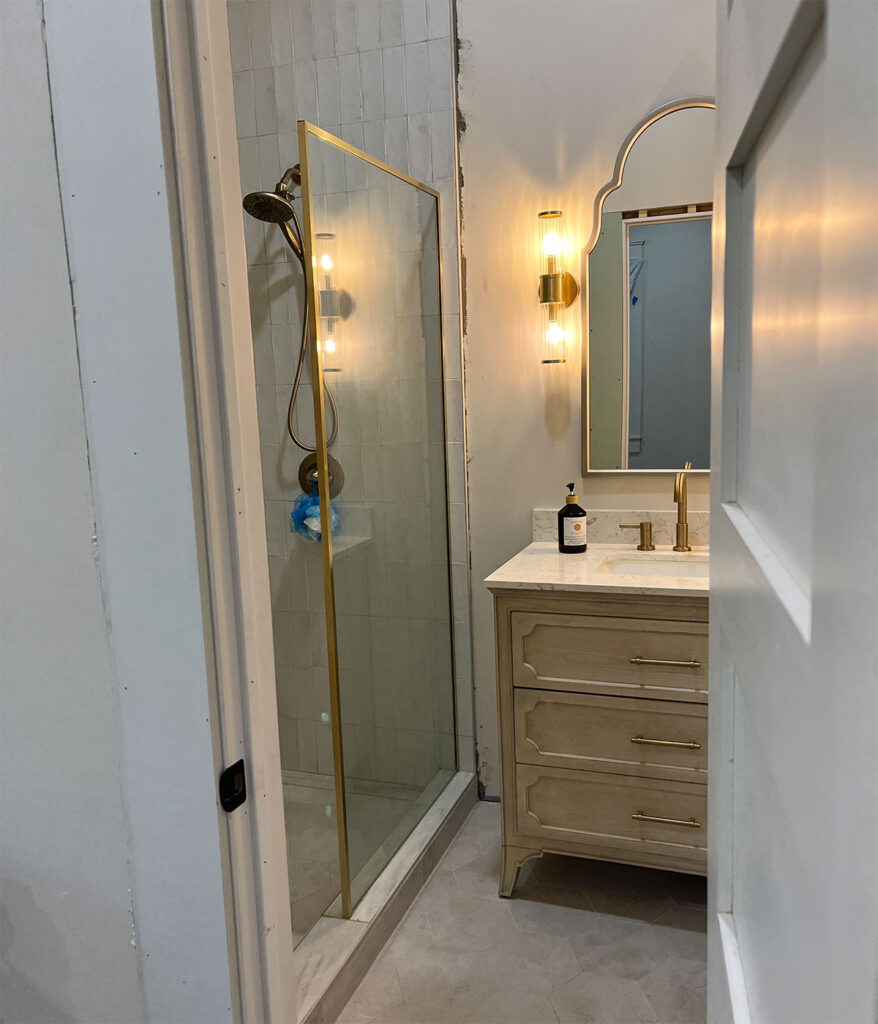
We had bought a glass shower door with a brushed brass frame. Once again our knowledgeable tile guys came to the rescue. The shower frame was supposed to be secured to the curb by drilling into the curb, however, that would void Schluter’s guarantee. So, with the advice of our tilers, we had them install a track for the door to nest in. It was tiled on each side. We did have to remove the bottom gold piece from the door, but that was a small sacrifice.
I’m learning that no one really comes into your home with a tape measure inspecting things and criticizing unless either 1. You’ve asked for their input, or 2. If they’re a critical person anyway. By this point in the renovation we had conceded and adjusted our expectations so many times, that making this call was easy-especially when you have faith in the ones up to the task.
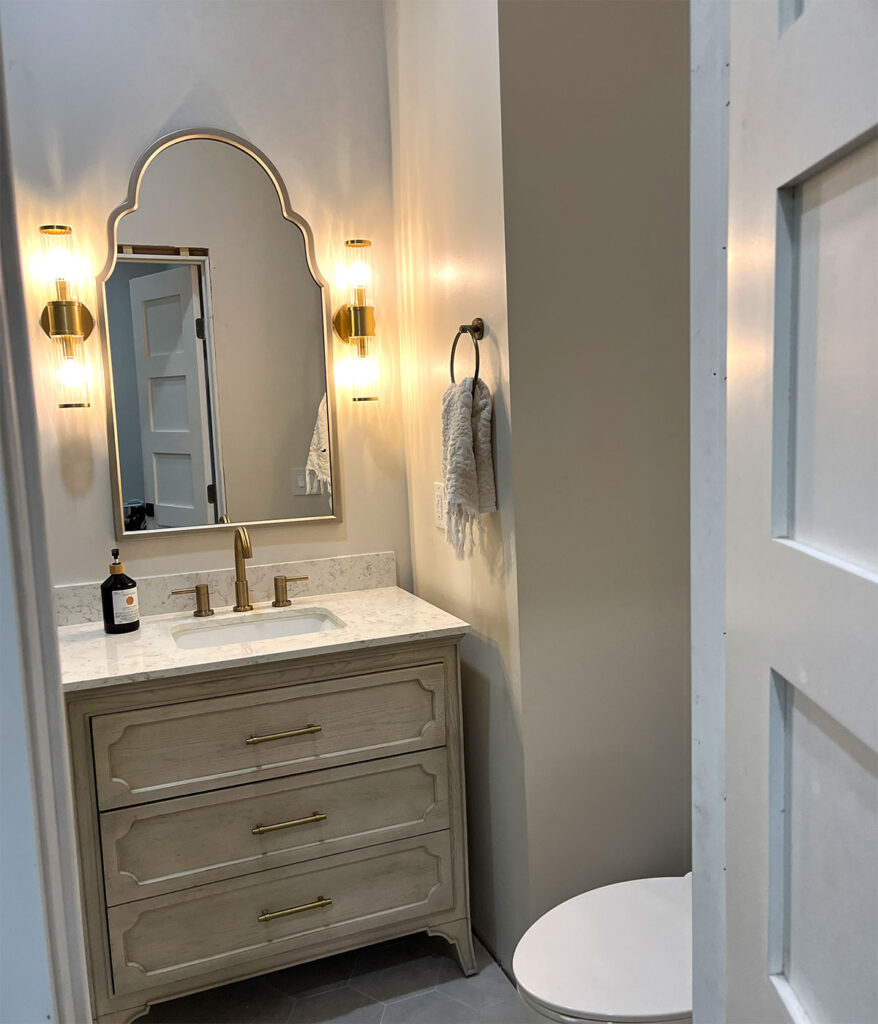
I had found the vanity I wanted and watched and waited. It went on sale and we got it–months before the bathroom was ready for it.
I held my breath and prayed that it would be perfect coming out of the box, and by God’s grace, it was!
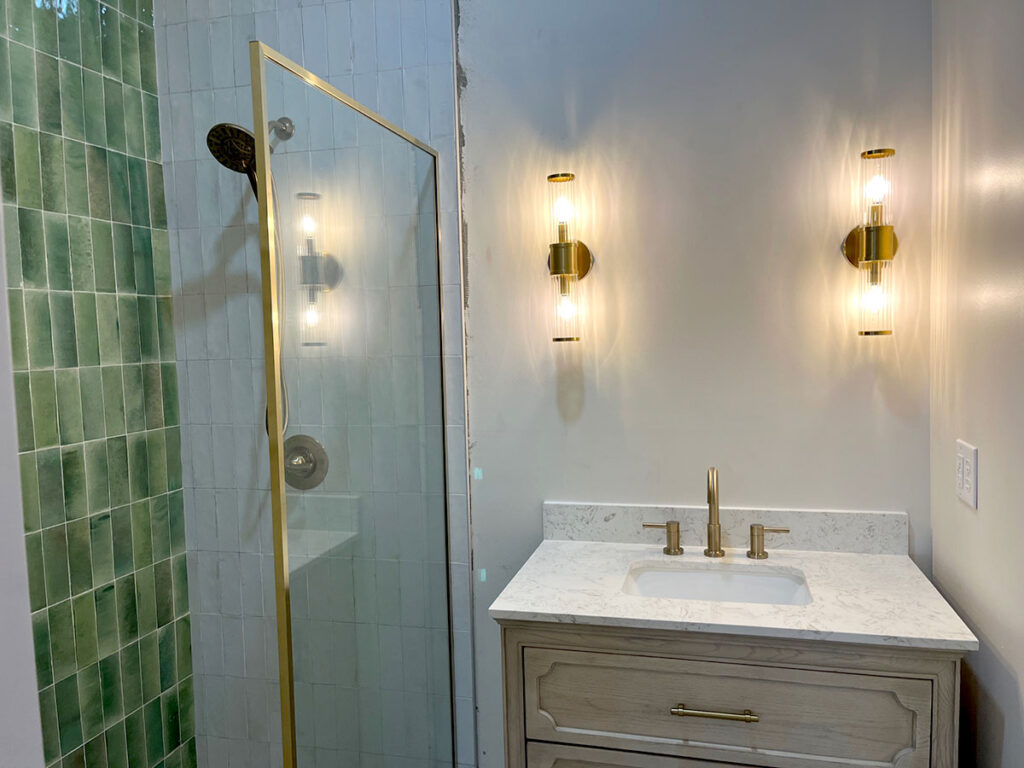
The mirror was also an early purchase, along with the light fixtures, faucet, and shower head. I’ve been accused of buying the ornaments before we had the tree, but at this point, I’m glad I did! Everything was waiting on the sidelines for this moment.
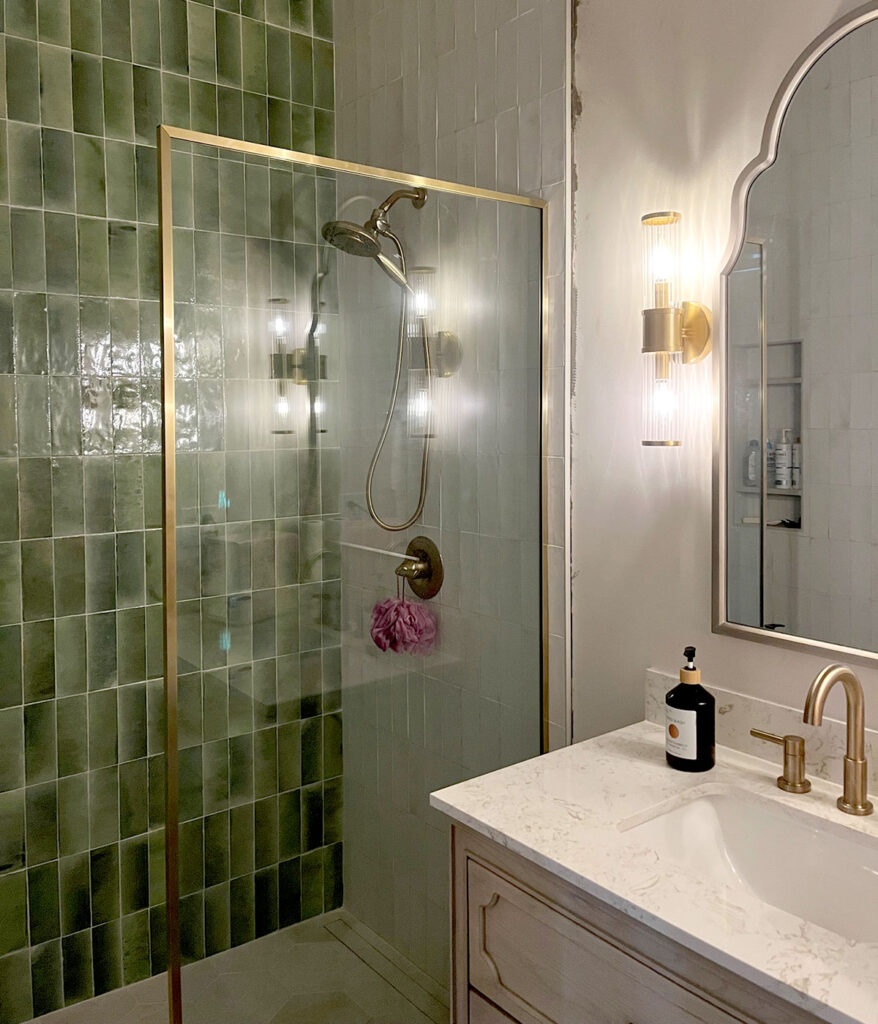
To now have 2 fully functioning bathrooms is really a modern convenience that I am grateful our family has. There were times waiting for the other bathroom to free up was frustrating.
Do you remember this cavity that was housing the itty bitty space heater? Here’s a reminder.
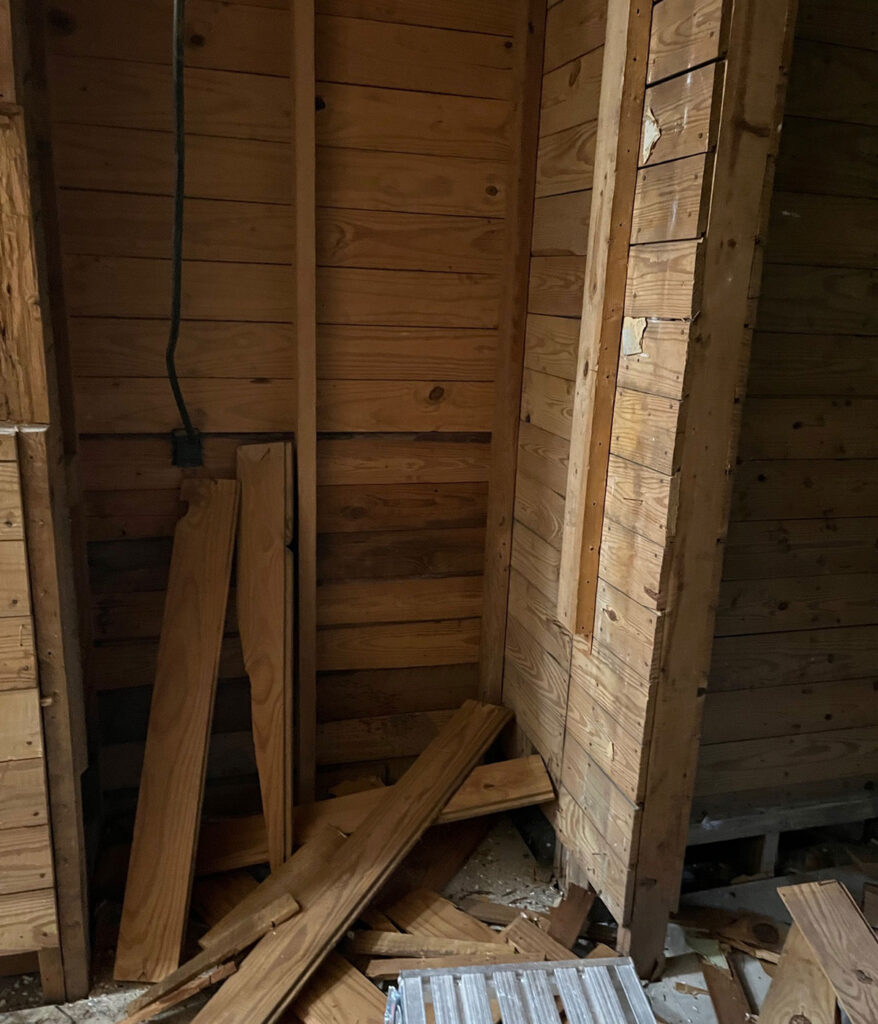
It ended up being a perfect spot for the new toilet. And I might could kiss whoever came up with the design of this toilet! No swoopy curly ques to clean dust (or other ick) from! The sides are smooth! (Ours is similar to this one -disclaimer-Shane’s affiliate link.)
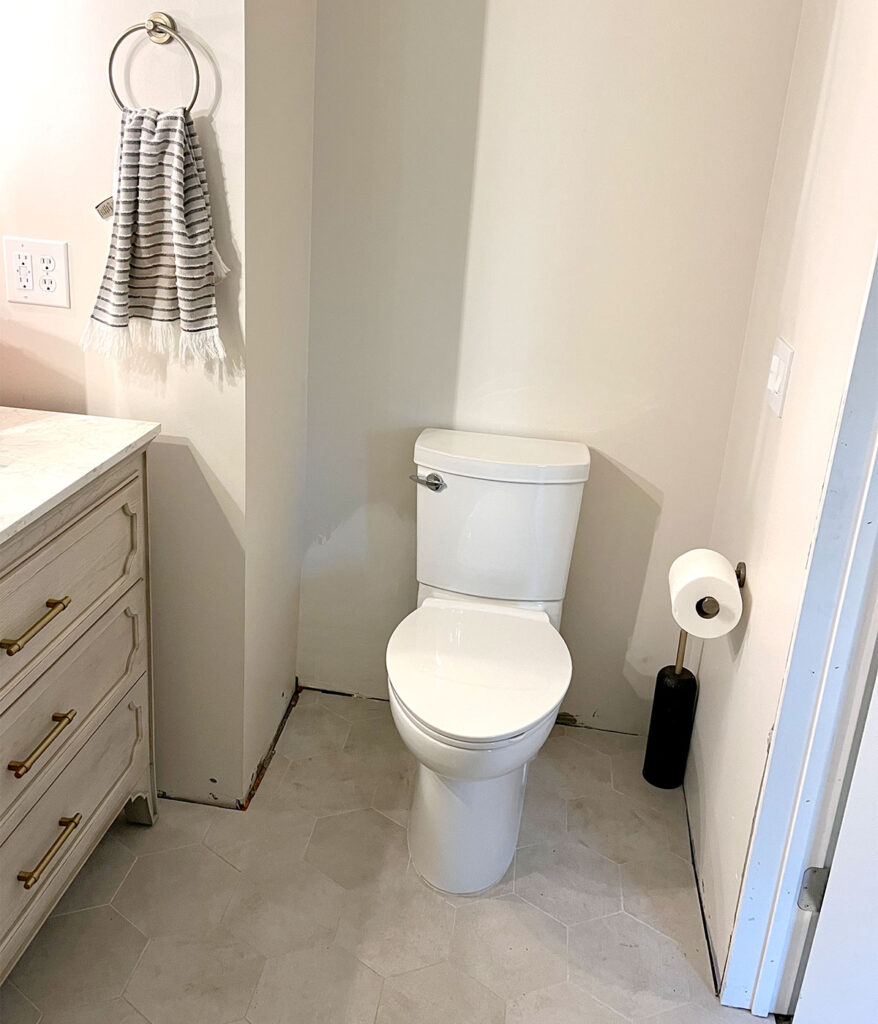
We still have some finishing work to do. And this is your friendly reminder that real life renovations are not HGTV. Sadly, they take time, money, and patience multiplied.
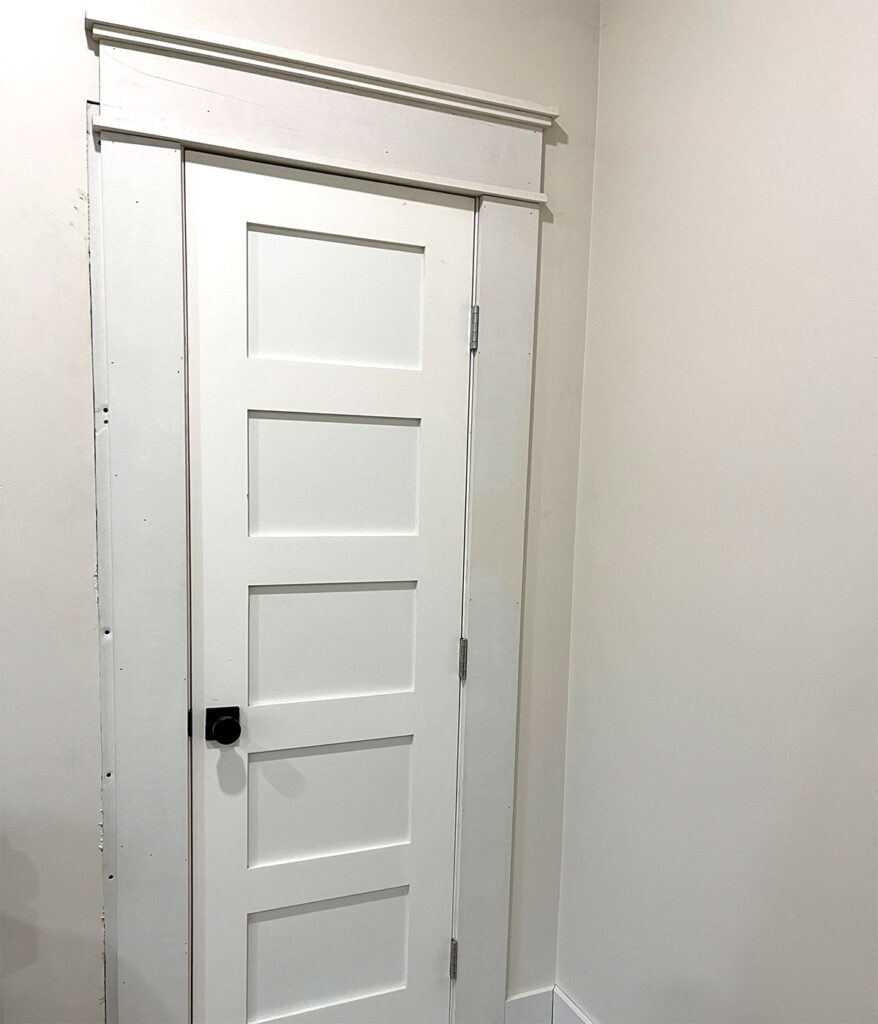
You can see here where post drywall hanging we decided to use a smaller door for the space. Then we bought a door that opened into the room, hitting the toilet. That door got repurposed as a closet barn door situation we’re still working out.
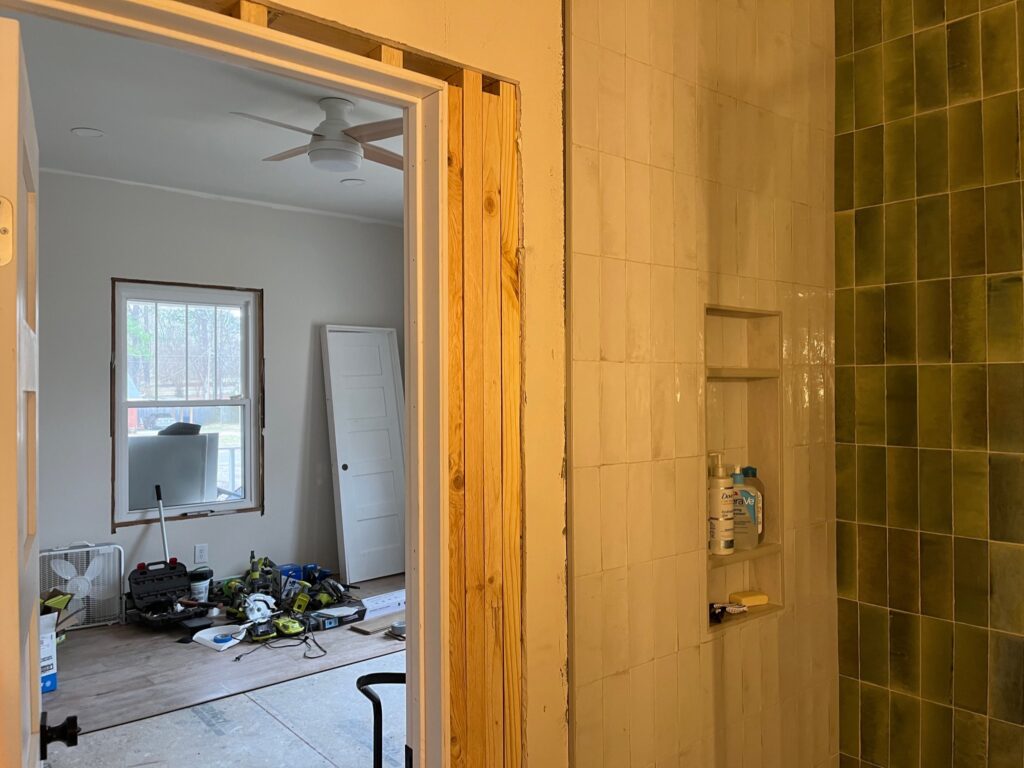
I do love the smaller door. It’s cottage-y and we’re kind of going for a modern Craftsman vibe.
Still more drywall and painting work to do….Sigh.
This half bath turned full bathroom with walk-in shower has turned into a jewel box of a room and one day, hopefully sooner than later, will serve our guests well. For now it’s loaded down with our teen daughter’s mounds of makeup and hair goo, and we are better for its service to her and to us.
My hope for you is that you would be encouraged to see beauty wherever you are-especially in the messes. I’m struggling toward that myself.
My favorite verse lately is the first part of Zechariah 9:12:
“Return to your stronghold, O prisoners of hope;”
It reminds me that my Stronghold is my Creator, my God, my Savior, my friend–not the house or things that I will one day leave behind. I want to be a “prisoner of hope,” that whatever comes my way, I remain hopeful, steadfast, light-hearted with the things that don’t really matter, and focused on my Creator and this precious life He has given me to share with the people I love.
Plant that thought in your heart today and laugh at the silly little decisions about letting go of gold frames and living in unfinished spaces. Laugh, smile, and love those who cross your path. I hope I will too.
Keep coming back to find more at Plant Life Today. Thank you for reading, truly.
-Andrea
